Finishing off an embroidery hoop for display
There are many ways to finish your hoop but I’m going to talk you through my preferred method of sewing a circle of felt to the back of the hoop

Cut your excess fabric
The first step is to cut the excess fabric around the hoop leaving a border of an inch (if you can)

Gather the excess fabric
Hold your hoop face down and loosely running stitch around the excess fabric. Then pull both ends of the thread to gather the fabric and tie tight.

Cut a felt circle
You now need to cut a circle of felt that is the same size as your inner embroidery hoop
It will appear smaller than is needed but you will stretch it as you sew in the next step to ensure it is tight across the back of the hoop
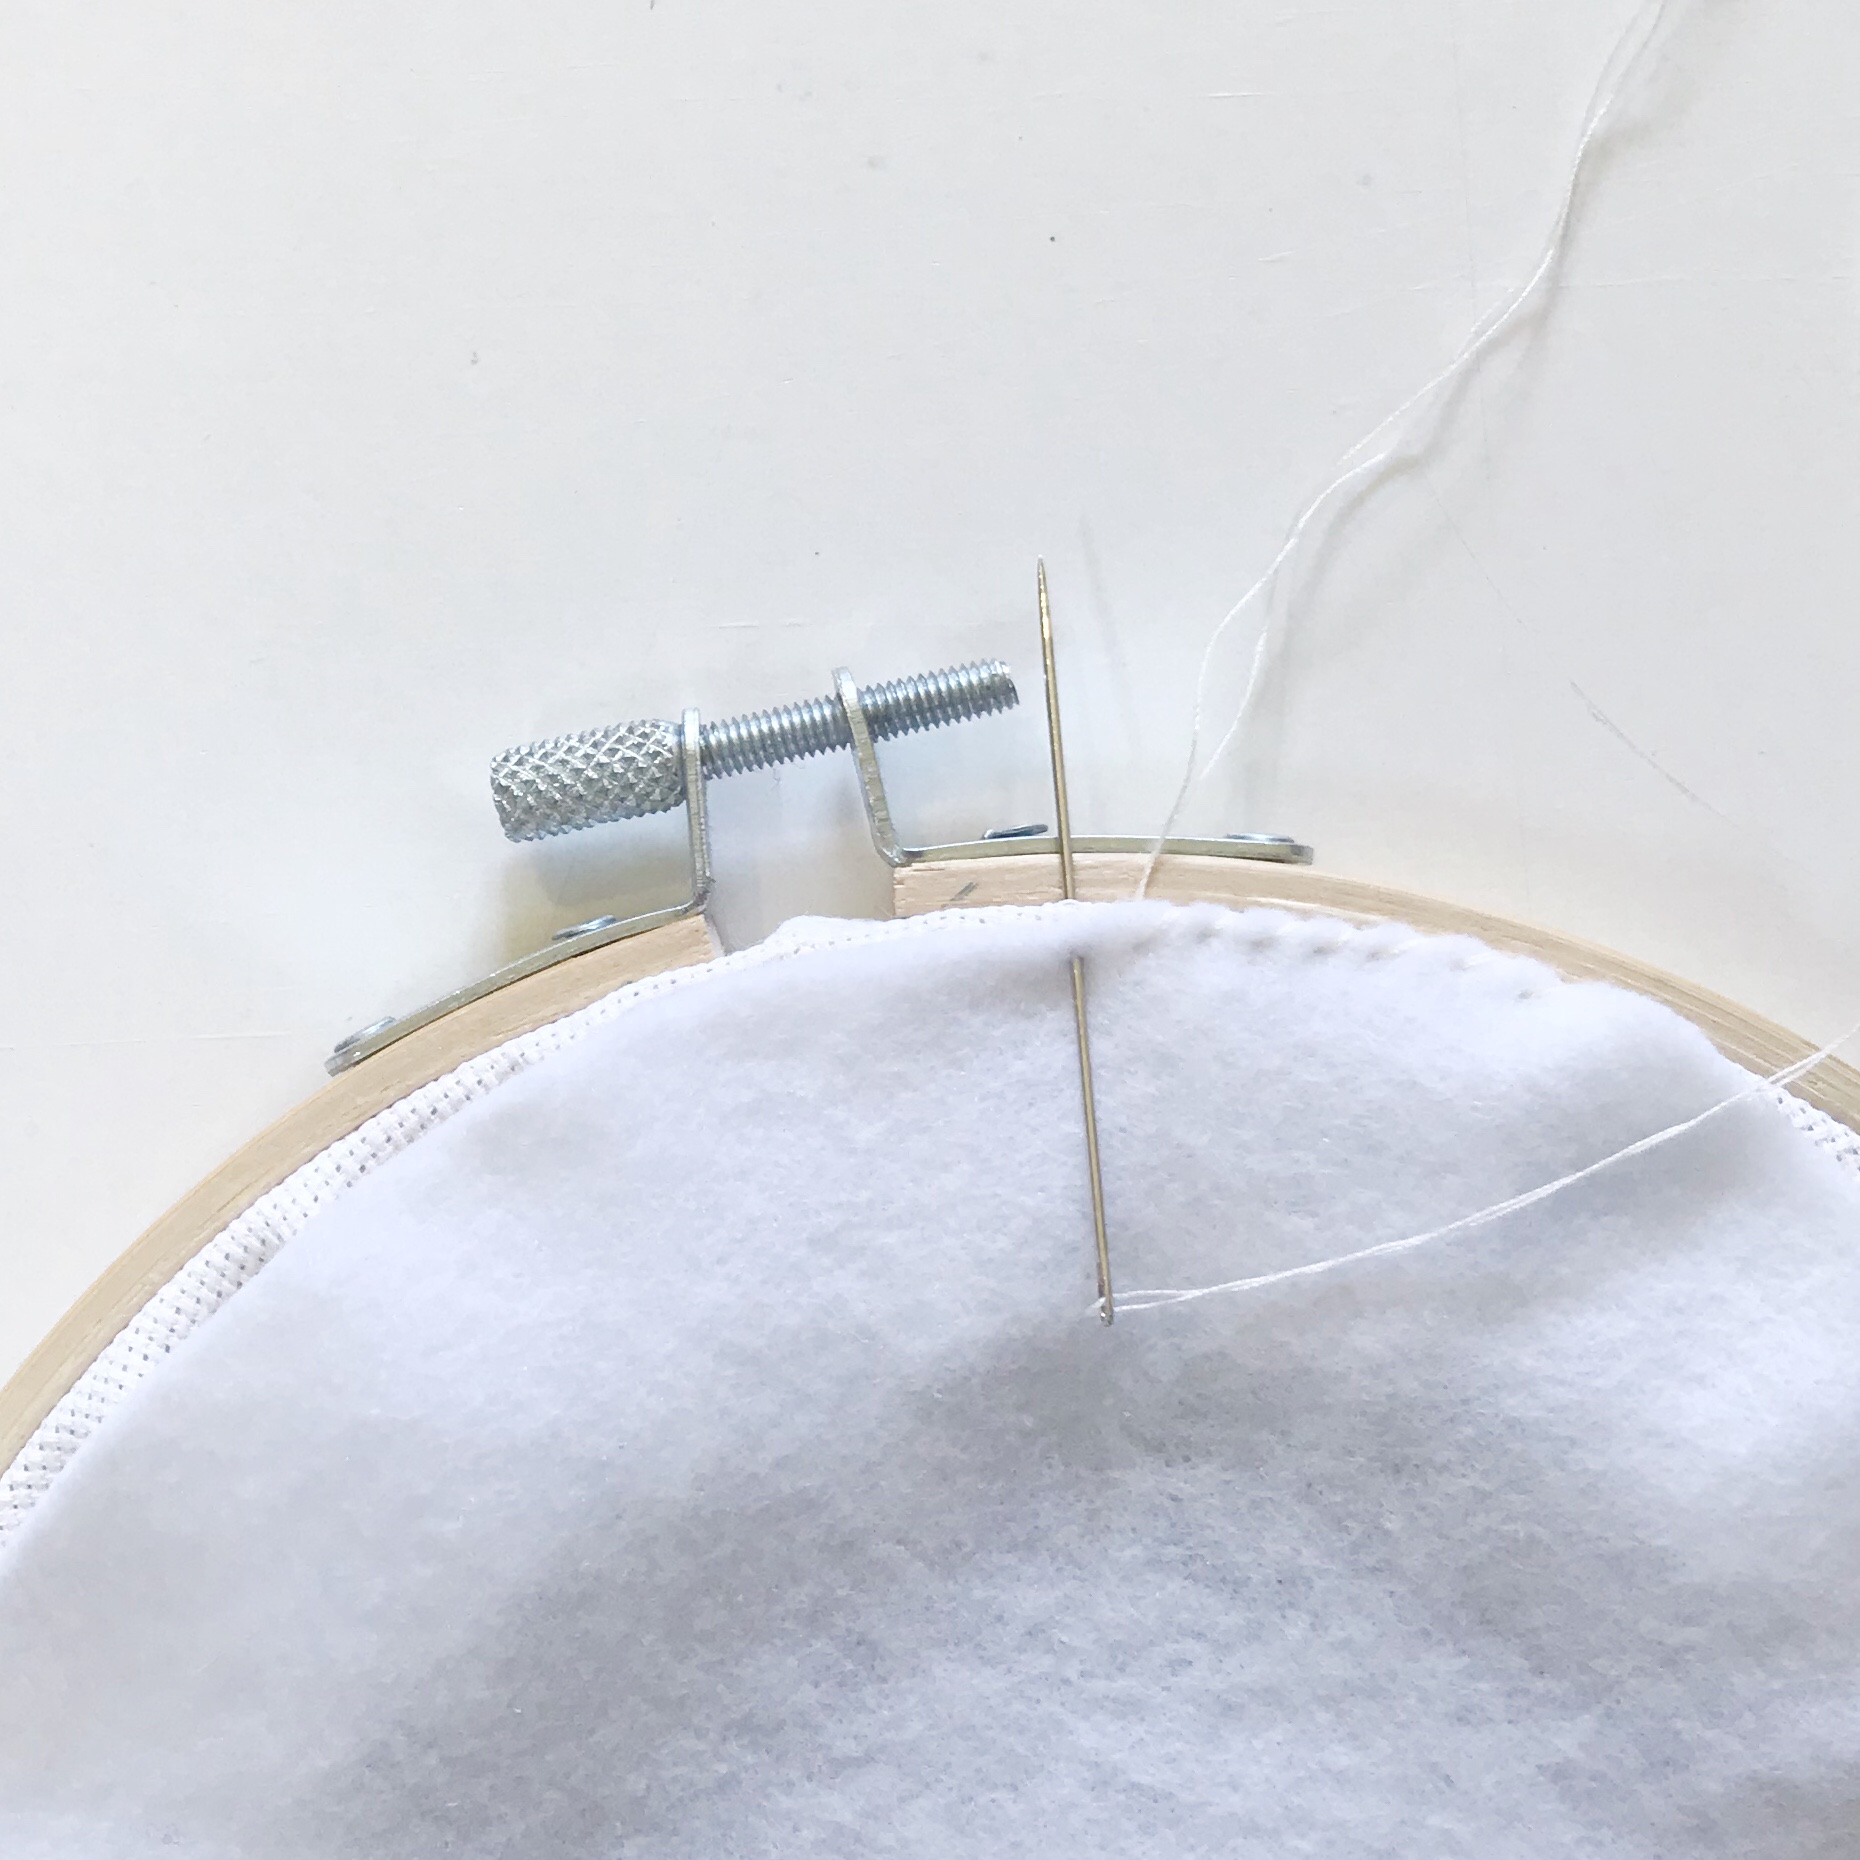
Sew the felt to the back of the hoop
To do this, hold the edge of the felt to the edge of the embroidery hoop and begin to sew small stitches. Starting from a few millimetres into the felt and emerging right next to the wood of the hoop.
Sew these little stitches all the way around, gradually stretching the felt as your go to fit the whole circumference.
For a more decorative touch you could use a contrast thread and buttonhole stitch around the edge instead.
So there you have it! My go to method for finishing my hoops ready for display.
I also sew a small woven label to the back of the felt as seen below… you may decide to sign the back of your hoops in a similar way. You could sew a small motif on to the felt circle before you sew it to the hoop for example! Just remember that you will be stretching is slightly as you sew it so any motif would have to be small and not easily warped.
